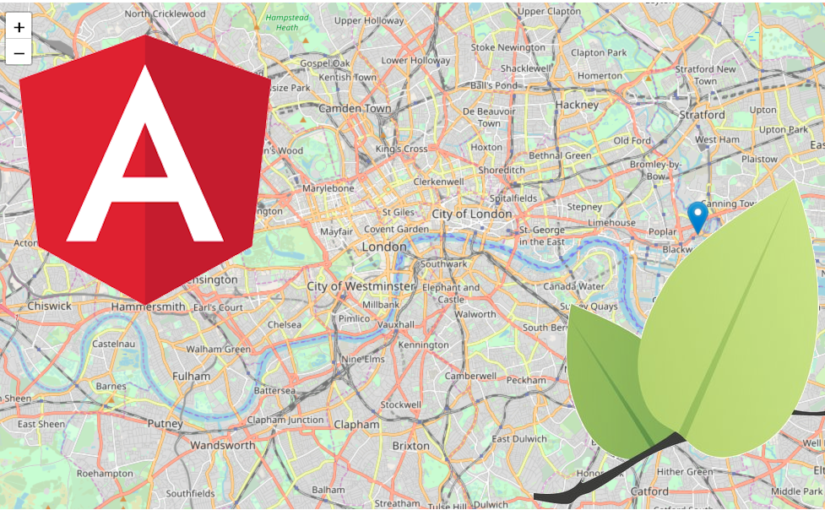
If you’re considering using interactive maps in your Angular application definitely Leaflet is a great choice. It’s open, easy to integrate with, and has strong community support.
In my opinion, it’s the best alternative to Google Maps. So, don’t lose the opportunity and check it yourself. I hope it will fit your needs.
Initialize the project
First of all, let’s create a new Angular app using Angular CLI.
Now, let’s generate our main component – MapComponent.
Getting started with Leaflet
Using npm package manager install the Leaflet core library as well as ngx-leaflet which is the Leaflet package for the Angular. Additionally, we’ll need TypeScript Leaflet typings.
Let’s configure Leaflet in our project.
Go to angular.json and add a reference to Leaflet stylesheets in styles array.
Now it’s time to import LeafletModule into the AppModule (or the other module you’d like to use).
Let’s go into the component code, starting from the HTML template.
Replace default text:
With div element where Leaflet map will be placed:
Let’s add some code to MapComponent stylesheets. We always have to specify the height for our map box.
Okay, let’s go into MapComponent code and introduce MapOptions object the map will use to render.
Let’s take a look at the MapComponent code:
At this point, you’re able to run the Angular app and see the map. If you simply need the plain map displayed it will be enough for you.
![]()
If you want to have access to the Map object for example to add new layers, markers, or anything else, please follow the rest of this article.
Let’s introduce and initialize the map variable and add a simple marker to the map. We need some modifications to our MapComponent code.
As you can see leafletMapReady event listener has been introduced. It’s time to implement onMapReady method where we pass $event (in this case it’s a Leaflet Map object).
Leaflet assets usage
In order to use Leaflet assets such as marker-icon.png we mentioned in the code above it’s required to provide some config modifications.
Go back into the angular.json configuration file and modify it a little bit. Otherwise, it won’t be possible to render the icon.
At this point, it’s ready to go. Let’s test it.
Final results
Before running the project please replace auto-generated welcome page content in app.component.html with app-map component selector.
Okay, finally it’s time to run the app.
Browse to http://localhost:4200 and you should see the final result.
![]()
As you can see the map with an icon is ready to go.
So, that’s it for now. Stay tuned, soon I’ll deliver you more content regarding using Leaflet in the Angular framework.
Good luck with Leaflet integration into your Angular application.
Hope it was useful for you. Let me know if you have any questions.

many thanks, is there a simple way to a top ng-select menu ?
Hi Bruno
Can you explain what did you mean by `top ng-select menu`?
Thanks, Rafal
Thank You, greeting from Arequipa Peru
My pleasure Victor, glad you found this useful. Greetings from Poland 🧉
what version of leaflet was used?
Hi Nakul, most likely it was Leaflet 1.7.1.
You can also check my working example on GitHub: https://github.com/imaginalis/angular-leaflet-starter