If you need to deliver your application quickly worldwide, then you can try to use CloudFront.
In this short text, I’m going to show you how easy it is, using the previously deployed Angular app as an example.
Using CloudFront for the websites hosted on the S3 is also a good idea when you need to use the domain which is not registered on Route 53 but on the external provider.
Create a distribution
Log into your AWS Console and choose the CloudFront service.
Click on the Create distribution button.
The goal is to create the web-based distribution, so click the Get started button under the Web section.

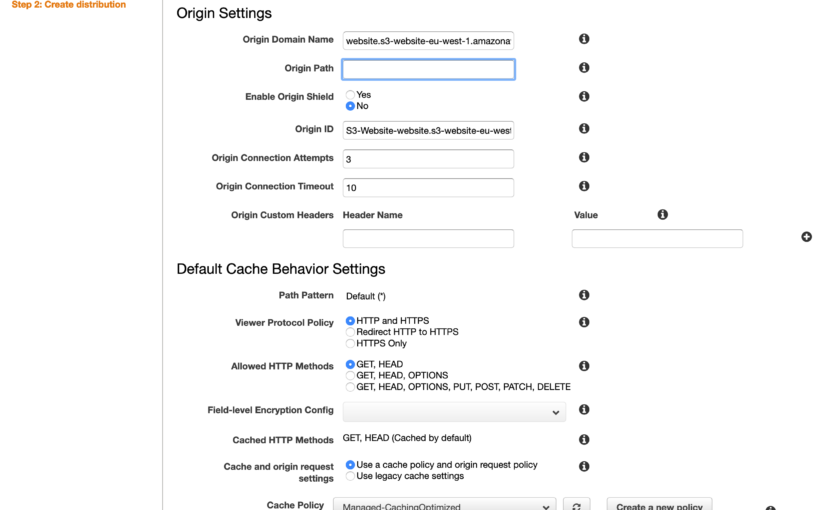
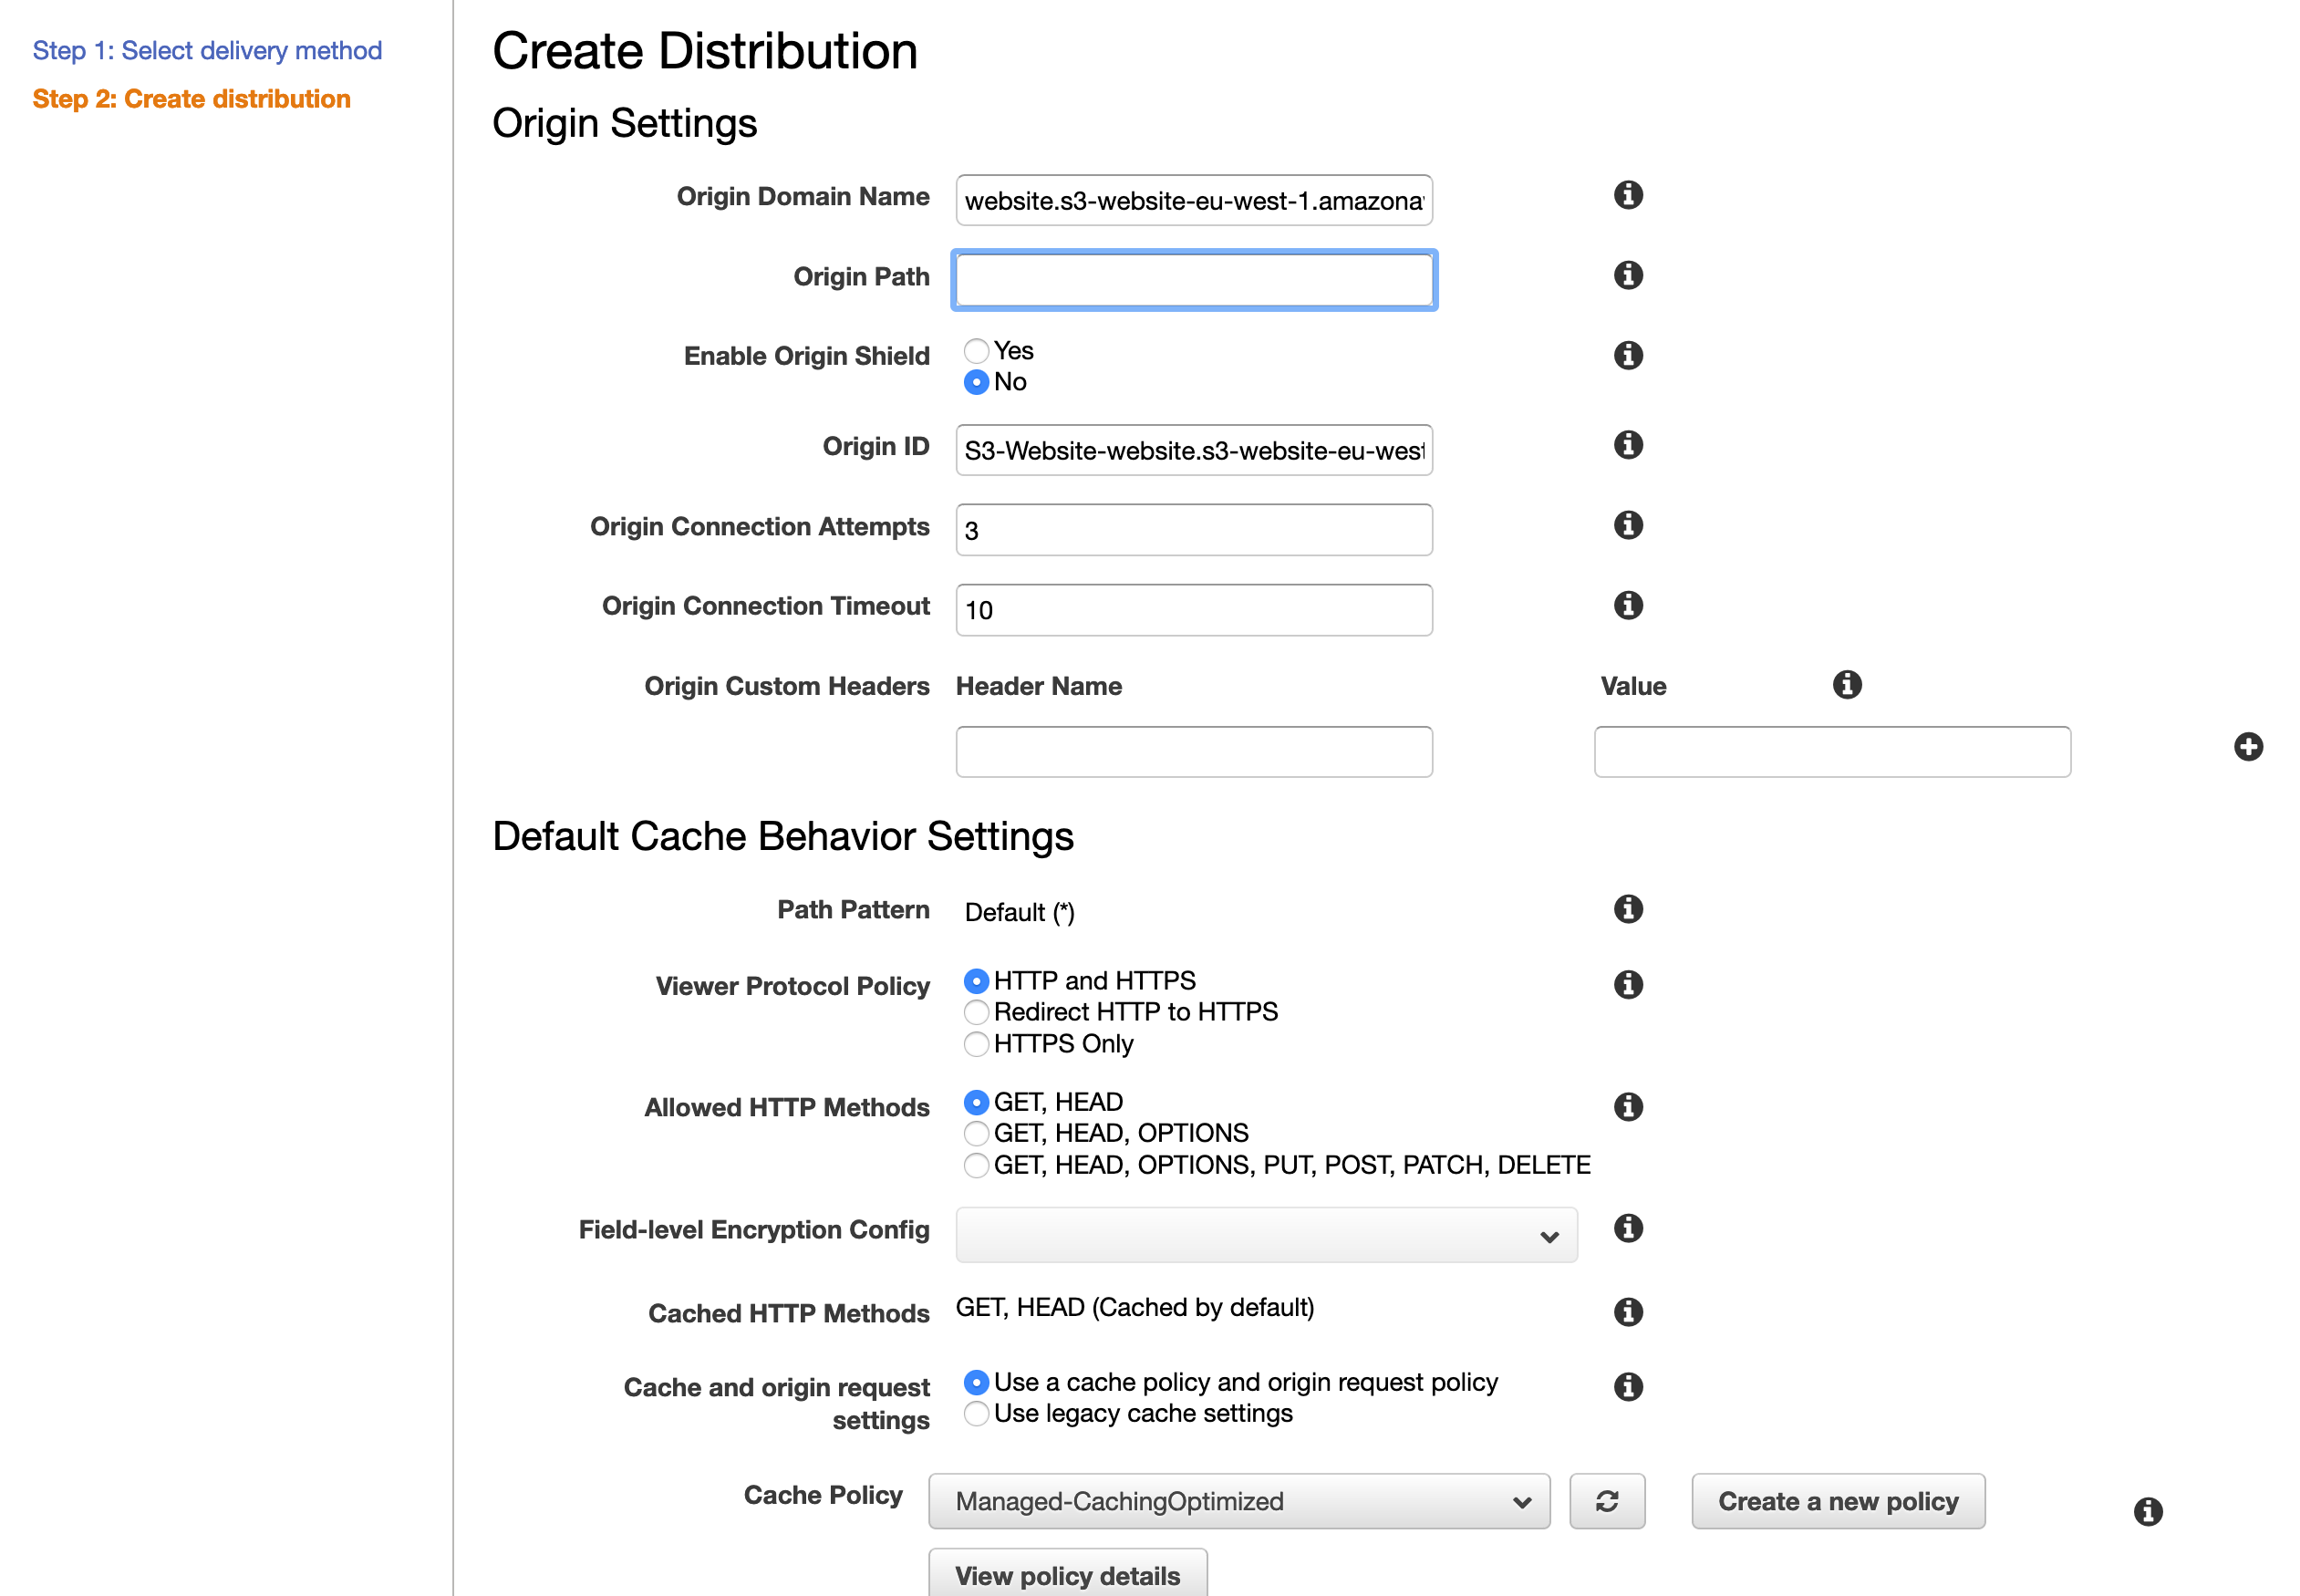
Now, it’s time to fill the form. The Original domain name is a bit tricky field. The suggester dropdown should show your S3 bucket names but we need the S3 website address here.
In order to get it you’ll need to the specific S3 bucket page, then click on the Properties, look for the Static website hosting section and copy the URL described as Bucket website endpoint.
Custom domains
If the CloudFront distribution should use the specific, external domain name it should be specified in the Alternate Domain Names (CNAMEs) field. If the domain is provided by the external provider, it has to be verified first (by CNAME DNS record).
The rest of the options are completely up to you. Set the price class, logging feature, or the SSL certificate according to the needs of the project then hit the Create distribution button.
The distribution creation is now in progress state. Once it’s done the distribution link should appear and the Angular app should be accessible.
Error handling set-up
The particular Angular app is expected to handle the errors by itself. It means that the default settings of the CloudFront have to be changed.
Go to the distribution details page and then choose the Error pages tab.
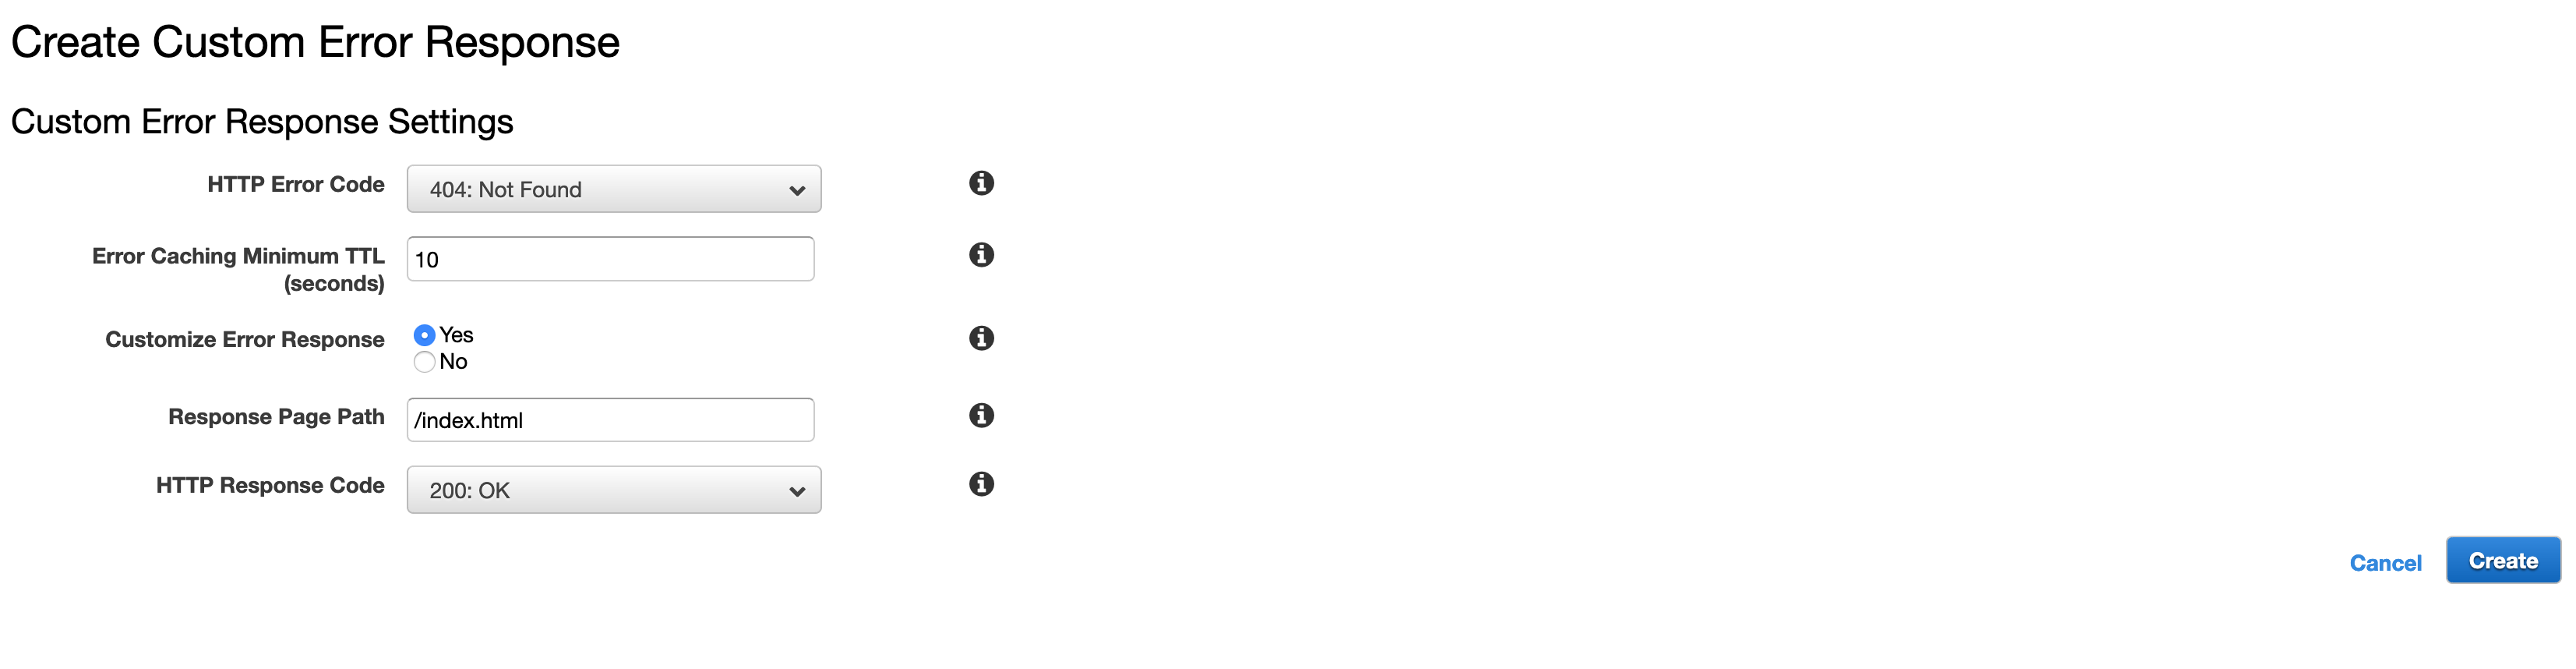
Click Create custom error response and choose the error that needs to be handled.
Check Customize Error Response and specify the /index.html file as a Response Page Path along with 200 OK as an HTTP Response Code.
In this way, some of the HTTP errors can be passed into the application to let it handle them.
And that’s it, the basic set-up has been done here. Just wait for the CloudFront distribution to create and use it with pleasure.
Conclusion
As you can see, the CloudFront distribution setup process is not complicated but it can significantly speed up your content delivery worldwide.
Take a look at the official docs to discover more advanced features you can use. Good luck!
Resources
- My previous post: Deploying Angular app to S3 bucket using Travis CI
- CloudFront docs – Setting Up Amazon CloudFront