If you want to pass the data from parent to child components in Angular application, I hope this article will help you to find the answer.
Recently, I described the process of passing data between child and parent components in Angular using @Output and EventEmitter.
Now it’s time to show you the capabilities of @Input decorator for data sharing between parent and child components.
Getting started
Let’s start with initializing new Angular app using Angular CLI.
Answer the routing and style questions and generate new project.
Now, let’s generate two components – ParentComponent and ChildComponent.
Passing data from parent to child component
Let’s say we would like to pass the string value from the text input element placed in ParentComponent to the ChildComponent and display it there.
So we add the input in ParentComponent HTML template.
Now, we have to implement setInputData method that will receive $event.target.value (text value from input element) every time user presses and releases the key (keyup event).
Take a look at the ParentComponent code.
In order to pass the data to ChildComponent let’s prepare the component’s code for it.
As you can see @Input decorator is used here. Data passed from ParentComponent will be available with text variable of string type.
In order to receive the data in ParentComponent let’s go back to the ParentComponent HTML template code and use [text] property binding and pass inputText field value there.
In this way you’re actually passing inputText variable from ParentComponent and you’re ready to use it as text variable in ChildComponent.
Go back to the ChildComponent template and use interpolation to display text variable.
Let’s go live
Before running the project, don’t forget to replace auto-generated welcome page in app.component.html.
Now the application is ready to run.
Browse to http://localhost:4200 and test the results.
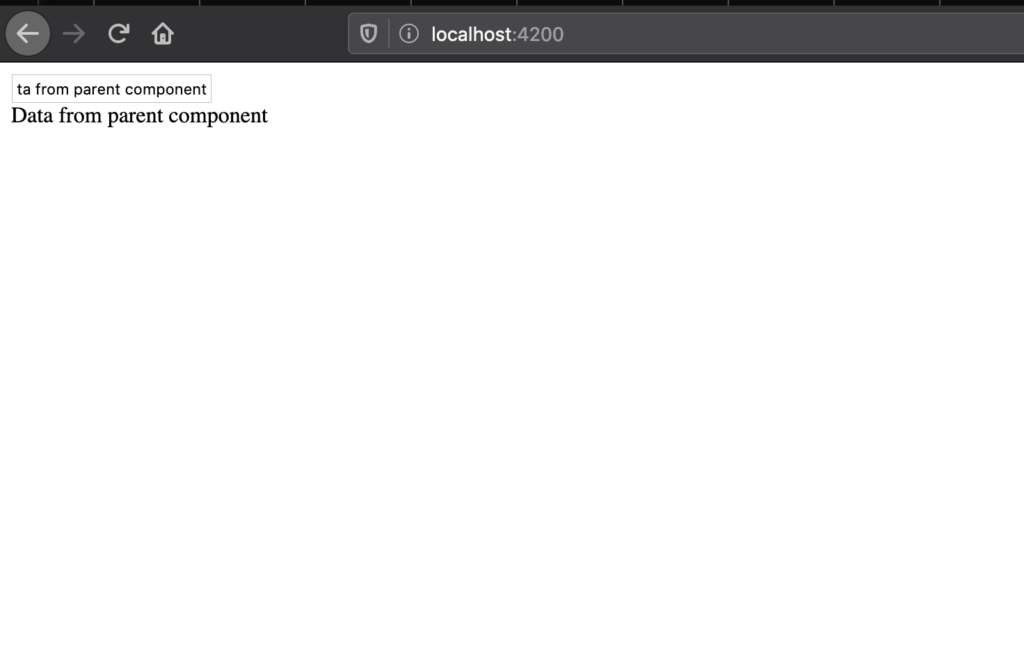
The text from input element should appear below it.
And that’s it. I hope it will be helpful during components data flow design in your Angular app.
Good luck!